
How Can We Help?
How to activate Salon Spy in Salon IQ
Salonspy is an award-winning, verified review platform and directory specifically for the hair, beauty, and wellness industry. It helps salons, spas, and stylists collect, manage, and showcase authentic client feedback, while also providing data insights to improve services and boost online reputation. It integrates with Salon IQ to automate reviews.
These reviews can
- Be shared on your website
- Be shared on your social media platforms
- Help to improve Google rankings
- Provide a real insight to what customers think
- Be used as a tool for excelling team morale, as part of appraisals, one to one's or team meetings
How to activate Salon Spy
Main Menu > Settings > Salons > Details
The below fields must all be completed
Salon Name
Address box 1, 2 , 3
Town
Post code
Phone Number
Telephone Number

All boxes must be completed, if required replicate your town in address box 3. Once complete click "Save"
Once complete, the next step is to scroll down the menu under Salon Settings and select Salon Spy.

You will need to select "Onboard Salon" from the available options.

This will then generate a message "Message: OK"
The final action is to activate the Salon Spy SMS, to do this:
Main Menu > Intelligent Marketing > Automation > Custom
Search for the option "Salon Spy" and click on it.

You will need to active the toggle at the top right corner to switch on the SMS.

Once complete, please press "Save"
To view client reviews:
Main Menu > Intelligent Marketing > Client Feedback

Enter the date range of the reviews you wish to load.

You can click on each client and the review the client processed will load.

You can choose to publish the reviews on the Online Booking Portal Reviews section or choose to hide them by selecting Yes or No option to "Show Online"
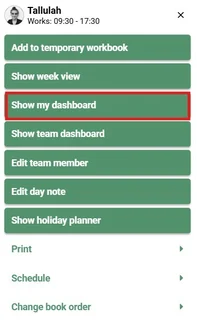
Team Members can also view reviews left by clients, click on the team member name of the appointment screen and select "Show My Dashboard"
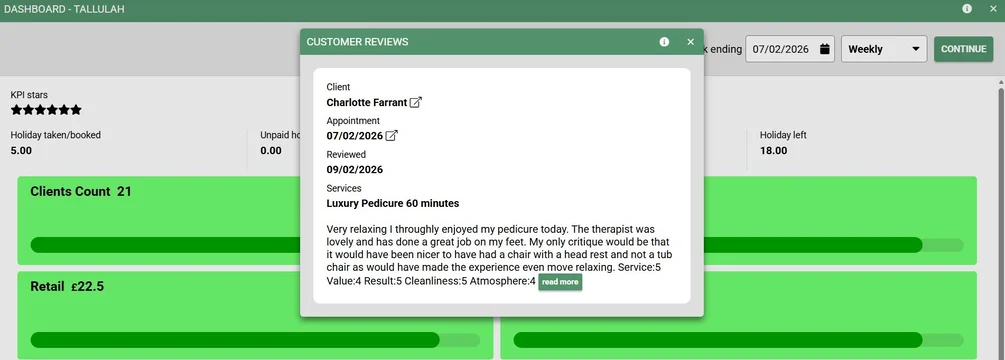
You can edit the date range for the review left by changing the date option on the top right.
By clicking on "Client Feedback" this will load the reviews left within the specified date range
Thanks to Adam at SalonSpy for this overview of how their system works...
Keep your reviews flowing effortlessly! Follow these simple steps to make sure your automated Google review requests are switched on, so your clients are invited to leave feedback after every appointment.
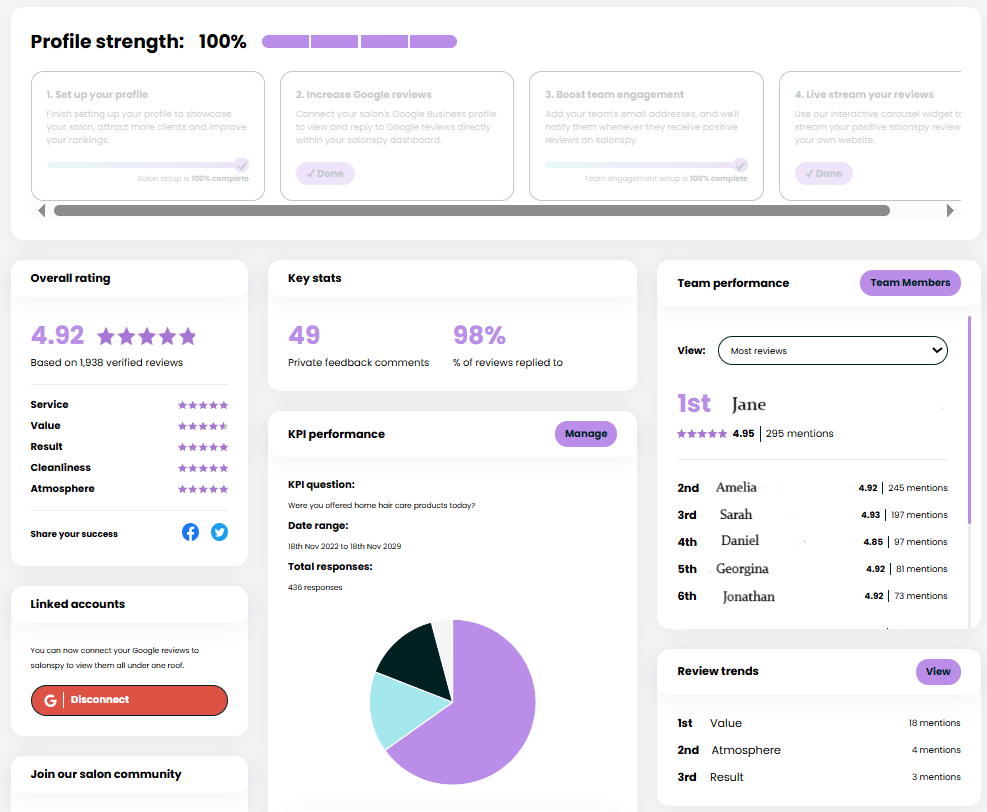
Accessing your salonspy dashboard
1. Log in to salonspy at www.salonspy.com using your account.
2. The dashboard shows review activity, statistics, and settings.
Automating Google Review Requests
1. Make sure your Google Business Profile is connected in salonspy.
2. Go to Linked Accounts in the dashboard and connect to Google.
3. Select your salon from the drop-down list.
4. salonspy will then send review requests to your clients after appointments.
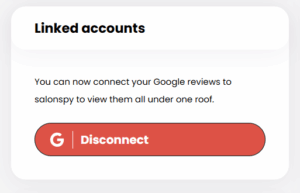
Once connected, Salon Spy will automatically send review requests to your clients after their appointments.
1. Go to the Widgets page in your salonspy dashboard.

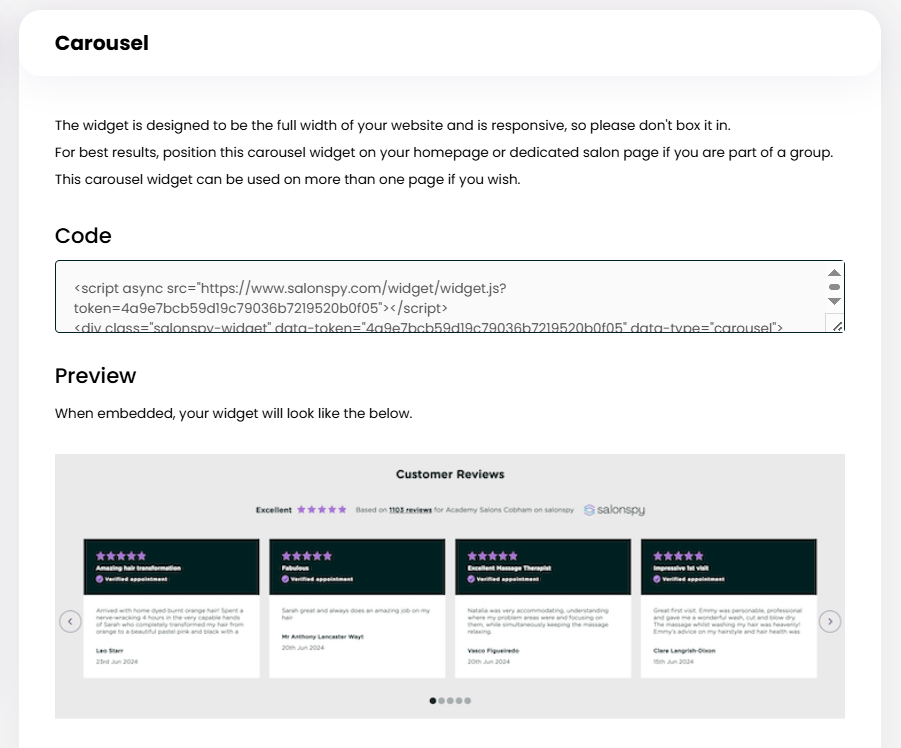
2. Choose the widget type you want (badge or carousel) & Copy the provided code.
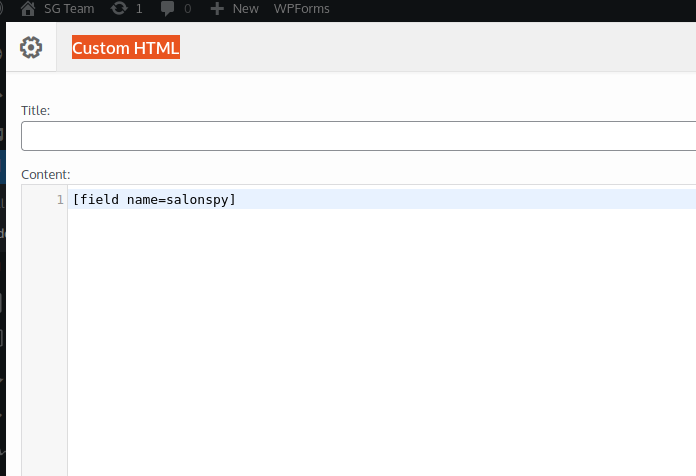
3. Ask your Salon Guru Client Manager to add a Custom HTML element on your website where you want the widget to appear. Instead of pasting the code directly into the field, insert.
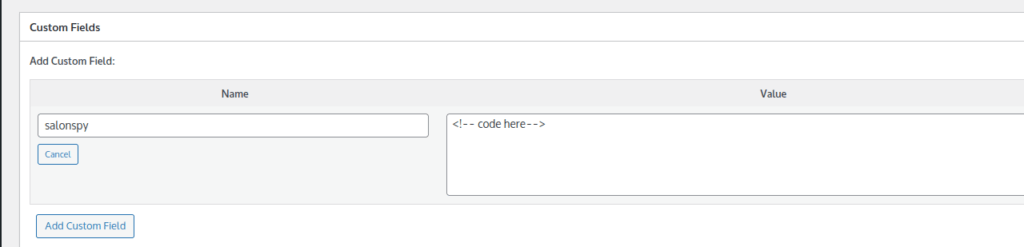
4. Below the main page content, locate the Custom Fields section. Create a new field called salonspy & in the Value box for that field, paste the review widget HTML you copied from salonspy.
Options For Placement And Styling
Position the widget on your homepage or a dedicated salon page for best results.
The carousel widget is full width and responsive – do not box it in.
You can use the widget on multiple pages if desired.
Adjust widget colour if needed in the dashboard settings.
See It In Action